- Joined
- Mar 26, 2024
- Messages
- 105
- Reaction score
- 32
- Location
- Sacramento, CA
- YouTube
- Visit YouTube
- IG Page
- Visit Instagram
- Rivian
- 2025 R1S DMPL
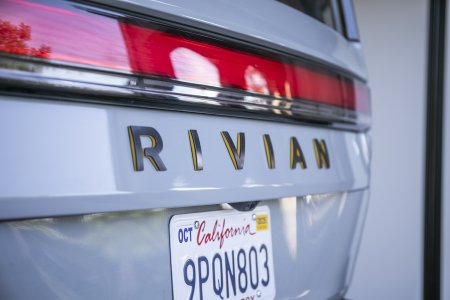
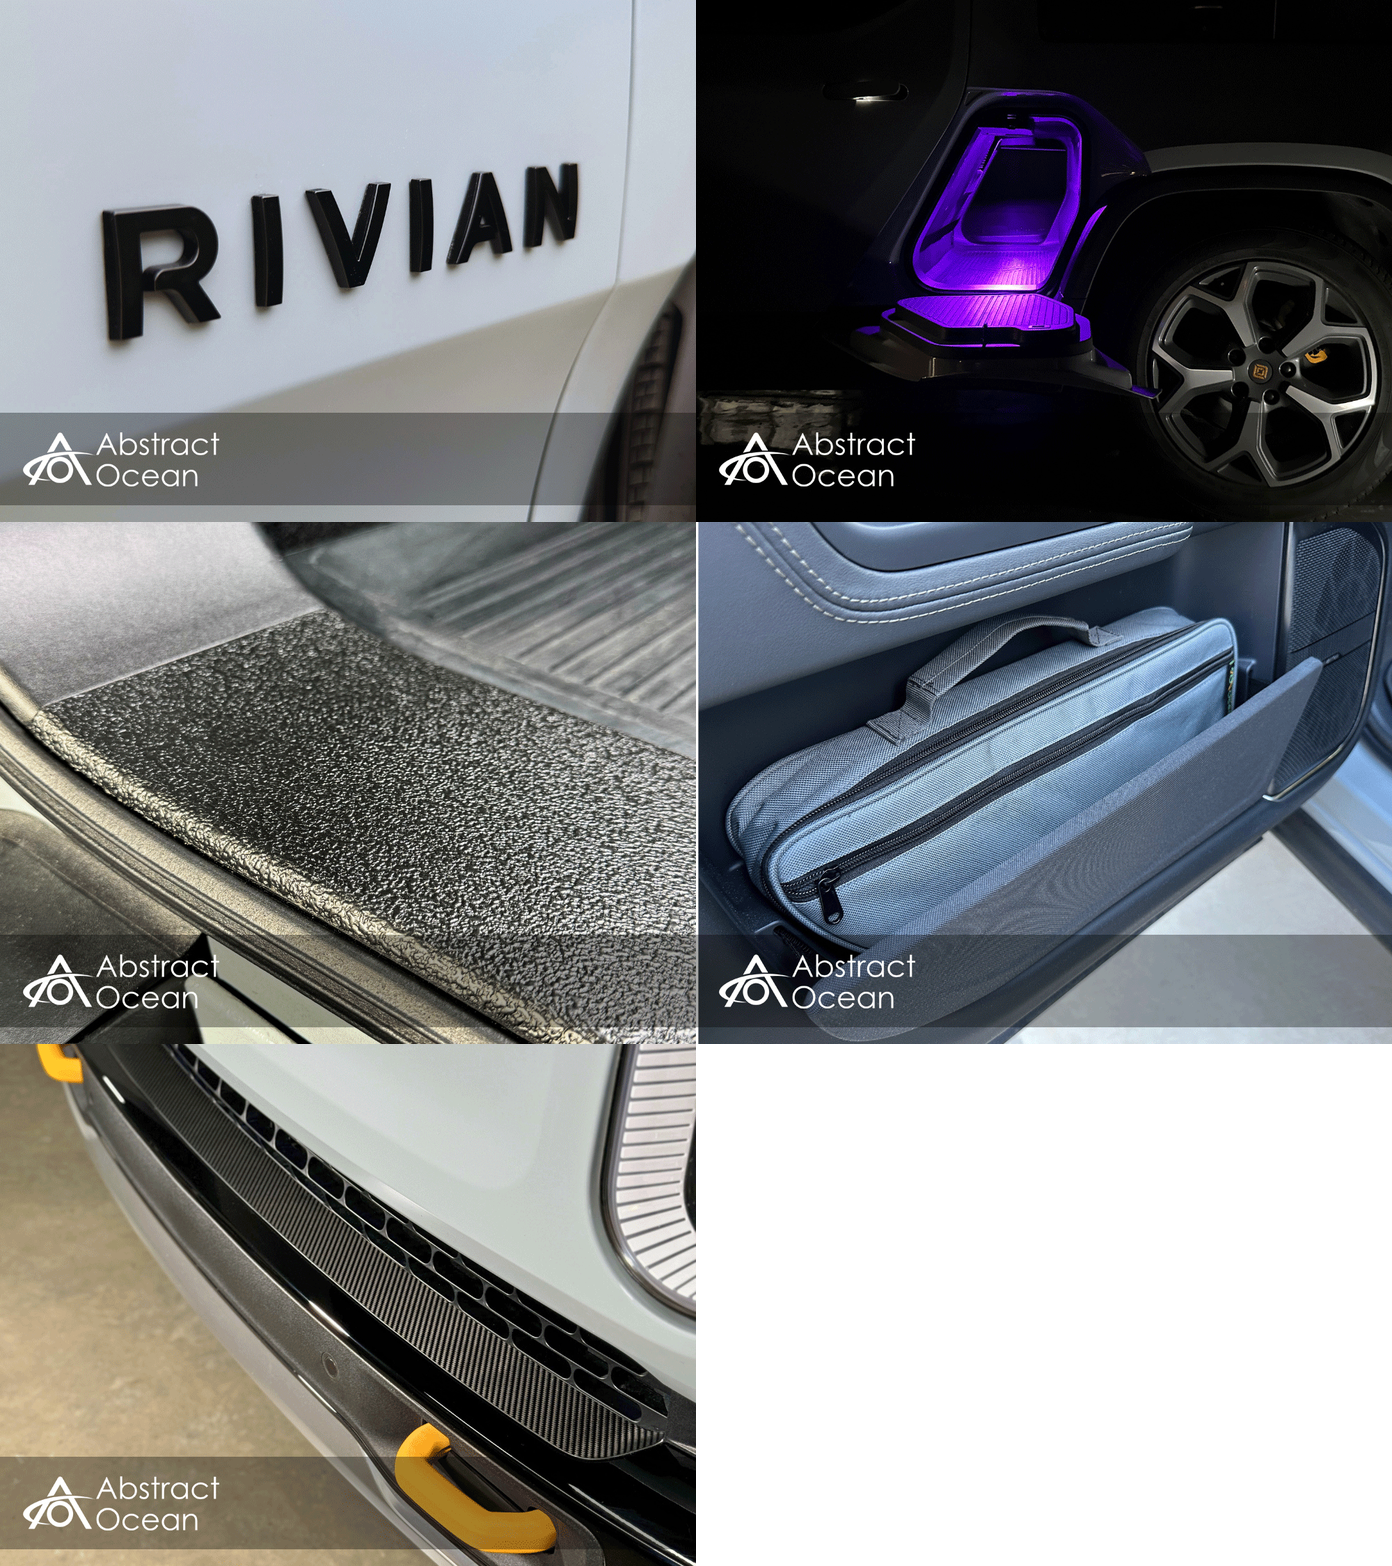
Ok everyone, we finally have the blackout + yellow accent rear RIVIAN emblems on the R1S. The installation process is pretty straightforward but depending on the kit you buy, it might be more complicated. We got our kit from Abstract Ocean.
They previously had them listed but they have since been taken down. If you are interested in the kit, I believe Abstract Ocean can still sell them to you, they just can't list them on their website Per Rivian's request. Regardless, this kit is extremely nice. It comes with everything you need to install the emblems and because they provide the foam template, everything goes on as an OEM spec emblem with OEM letter spacing.
Find it online:
- If you're interested in these emblems please contact Abstract Ocean directly: https://abstractocean.com/pages/special-orders
- Door Emblems X 2 with foam template - check out this post
- Rear lift gate Emblem X 1 with foam template
- Hood Emblem X 1 with 3M backing tape
- Adhesive remover tool with extra blade
- Adhesive remover liquid spray bottle
- Emblem remover tool with extra line and eyelets
- Griots Garage Cleaner to clean everything when you're done.
Step 1. Masking Tape For Reference
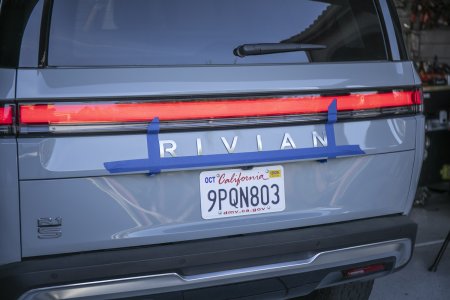
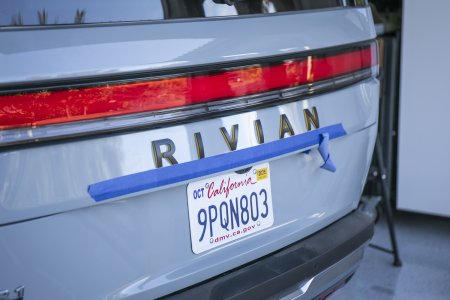
I decided to start with a masking tape outline all the way around so that when I went to reinstall the RIVIAN letters I knew exactly where to place the template. You want to leave about 1/8" all the way around if you can so you don't place the template on top of the masking tape.
Step 2. Heat Gun
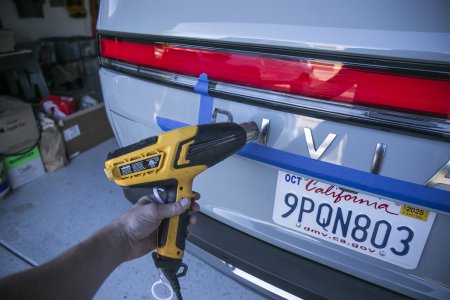
You can use a heat gun to heat up each emblem before using the emblem removal tool. This is possible without the heat gun but the heat makes it a bit easier.
Step 3. Emblem Removal Tool
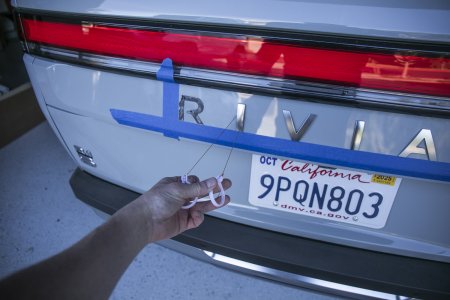
Remove all the letters. As you can see, you will still have quite a bit of adhesive on the backside of each letter. Abstract Ocean provides this letter removal tool and it's much nicer than using a fishing line as the line is a bit serrated and has eyelets that you can grab onto for more force when pulling the letters off. The attention to detail in this kit is next level.
Step 4. Adhesive Removal Tool
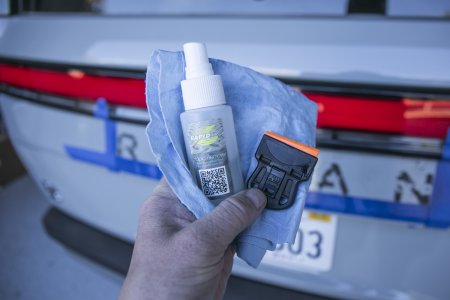
Abstract Ocean provides a really helpful adhesive removal tool and a solution that's similar to Goof Off, however, it will not damage your paint. Both of these came in very handy for the installation. Wherever you buy an emblem kit, make sure both are provided.
Step 5. Final Adhesive Removal
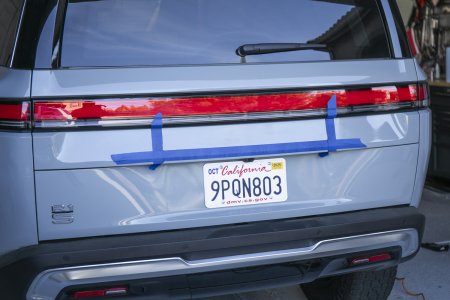
Finally, clean everything off with the provided Griots Garage detailing solution and then let it dry.
Step 6. Line Up the Emblem & Remove the Tape
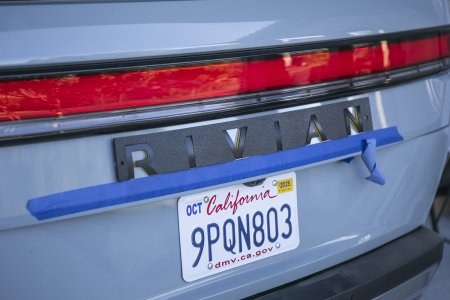
Remove the backing shield against the letters, line everything up, and press it onto the Rivian within your masking tape outline. For the rear RIVINAN letter template, I took a razor blade and cut off the bottom of the foam so that I could see exactly where the letters match up to my masking tape line. This was very helpful when re-installing the letters.
Final Emblems Installed
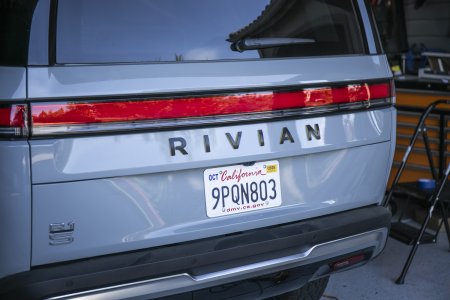
That's it. You're done. Now, you can use the Griots Garage detailing solution to clean the area around the emblems one last time.
These look so much better than the OEM silver badges. Really impressed with the quality of the emblems and the kit overall from Abstract Ocean. Highly recommend.
Attachments
Last edited:

