- Joined
- Mar 26, 2024
- Messages
- 105
- Reaction score
- 32
- Location
- Sacramento, CA
- YouTube
- Visit YouTube
- IG Page
- Visit Instagram
- Rivian
- 2025 R1S DMPL
Rivian R1S and R1T Frunk Lighting Upgrade from Abstract Ocean - Installation Overview & Review
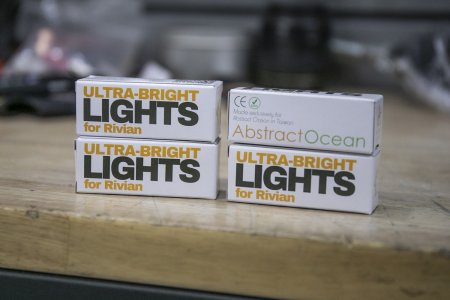
The factory frunk lights on the R1S and R1T are pretty dim so we decided to upgrade them with a set of CE and RoHS certified LEDs from Abstract Ocean.
We chose to install amber over white because it's easier on the eyes and looks better - in my opinion. White is going to provide a brighter output over the amber, but amber lighting makes everything look better. Plus Insects are less attracted to amber light than white light because of the color spectrum of the light.
The Abstract Ocean lights are manufactured exclusively for AO in Taiwan. They are plug-and-play, visually identical to the factory bulbs, and guaranteed for as long as you own the vehicle. AO has been designing aftermarket lights for the Tesla for years, and now the Rivian.
For the R1S, you can only upgrade the frunk and rear plate. For the R1T, you can upgrade the dimming ones in the footwells, regular (non-dimming) ones in the frunk, in addition to the tunnel and rear license plate lights.
Find It Online
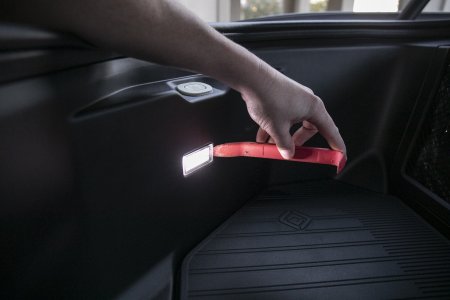
On the factory light housing in the trunk, you will see that one side has a larger tab. That is the end where the lights are clipped into place. Take a small screwdriver or plastic pry tool and push in the tab to remove the lights. Both of the tabs are facing the passenger side of the vehicle. It's not flipped from side to side.
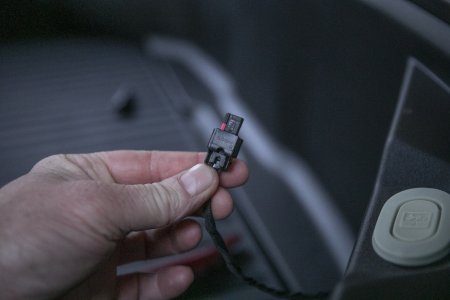
Once the light housing is out, you can unclip the harness. The harness can be stubborn so be patient. Push down on the tab to release the latch and then pull the harness out of the factory housing. If you're having trouble, a set of clip pliers might help to release the harness. I use these GearWrench pliers for stuff like this.
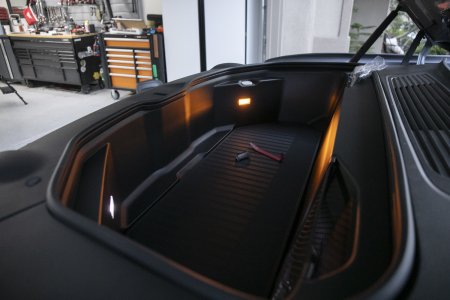
All that's left is to plug in the new housing to the OEM harness and then re-install the housing back into the frunk. That's it! Super easy little installation.
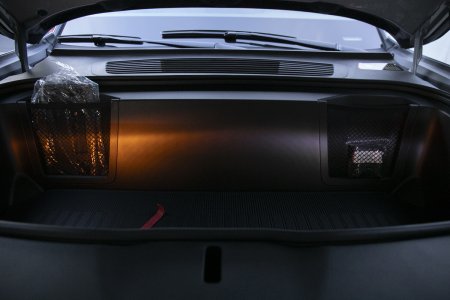
On the left, we have the new amber LEDs from Abstract Ocean, and on the right, the OEM white LEDs. As you can see, the Abstract LEDs are much brighter - even though they are amber. If you're going for the brightest output possible, you should buy upgraded white LEDs from Abstract Ocean, but again, I like the look of amber more.
The housing design is spot on to the OEM housing and the quality seems to be better all the way around.
This is a super high-quality little LED chipset. Zero complaints. Looks amazing. Easy install.
Check out the Abstract Ocean YouTube installation guide for more information:
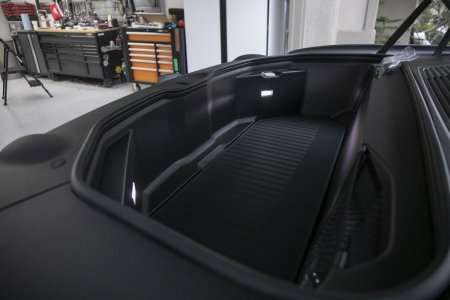
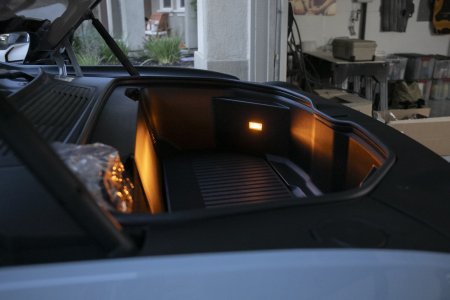

The factory frunk lights on the R1S and R1T are pretty dim so we decided to upgrade them with a set of CE and RoHS certified LEDs from Abstract Ocean.
We chose to install amber over white because it's easier on the eyes and looks better - in my opinion. White is going to provide a brighter output over the amber, but amber lighting makes everything look better. Plus Insects are less attracted to amber light than white light because of the color spectrum of the light.
Abstract Ocean Lights
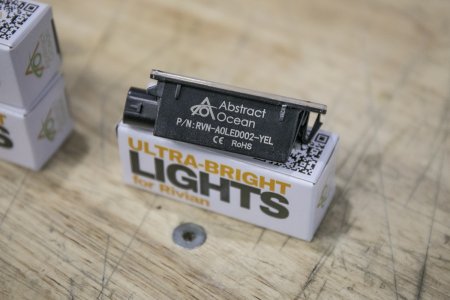
The Abstract Ocean lights are manufactured exclusively for AO in Taiwan. They are plug-and-play, visually identical to the factory bulbs, and guaranteed for as long as you own the vehicle. AO has been designing aftermarket lights for the Tesla for years, and now the Rivian.
For the R1S, you can only upgrade the frunk and rear plate. For the R1T, you can upgrade the dimming ones in the footwells, regular (non-dimming) ones in the frunk, in addition to the tunnel and rear license plate lights.
Find It Online
- Frunk Upgrade Light Kit: Check Price
- Power Consumption 1.25W (0.32W)
- Lumens: 182Lm (25.5Lm)
- LED count: 10 (2)
- CRI 70-80 (60)
Step 1. Remove Factory Housing

On the factory light housing in the trunk, you will see that one side has a larger tab. That is the end where the lights are clipped into place. Take a small screwdriver or plastic pry tool and push in the tab to remove the lights. Both of the tabs are facing the passenger side of the vehicle. It's not flipped from side to side.
Step 2. Unclip Harness

Once the light housing is out, you can unclip the harness. The harness can be stubborn so be patient. Push down on the tab to release the latch and then pull the harness out of the factory housing. If you're having trouble, a set of clip pliers might help to release the harness. I use these GearWrench pliers for stuff like this.
Step 3. Plug In Abstract Housing & Push Back Into Place

All that's left is to plug in the new housing to the OEM harness and then re-install the housing back into the frunk. That's it! Super easy little installation.
OEM Lights Vs. Abstract Ocean

On the left, we have the new amber LEDs from Abstract Ocean, and on the right, the OEM white LEDs. As you can see, the Abstract LEDs are much brighter - even though they are amber. If you're going for the brightest output possible, you should buy upgraded white LEDs from Abstract Ocean, but again, I like the look of amber more.
The housing design is spot on to the OEM housing and the quality seems to be better all the way around.
This is a super high-quality little LED chipset. Zero complaints. Looks amazing. Easy install.
Check out the Abstract Ocean YouTube installation guide for more information:
Factory R1S Frunk Lights (Before)

Abstract Ocean Amber R1S Frunk Lights (After)


