- Joined
- Mar 26, 2024
- Messages
- 105
- Reaction score
- 32
- Location
- Sacramento, CA
- YouTube
- Visit YouTube
- IG Page
- Visit Instagram
- Rivian
- 2025 R1S DMPL
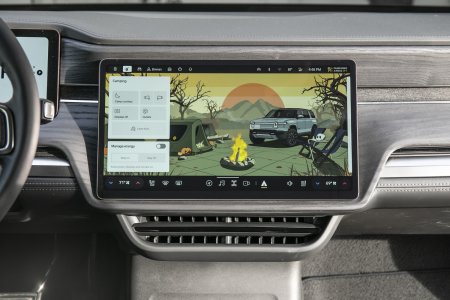
We just got our screen protectors from Abstract Ocean and we couldn't be more stoked with the outcome. The quality is far beyond what I expected, mainly for the installation prep, the provided tools, and the packaging. Screen protectors are all essentially the same (within reason) but the prep and provided tools in the kit are what bring the final installation to the next level.
The Abstract Ocean kit comes with all three screen protectors for the infotainment; the primary screen, gauge cluster and the rear screen.
Features:
- The hardest Rivian screen protectors in the world. Made from aluminosilicate sheet glass
- Oleophobic coating helps resist oil and fingerprints
- Permanent silver-ion anti-microbial coating
- Quick and easy installation
- Designed by AO exclusively for the Rivian R1S and R1T touch screens
- AO Screen Protectors for Rivian R1S & R1T: https://abstractocean.com/products/ultra-premium-tempered-glass-screen-protectors-rivian-r1t-r1s
- AO Installation video:
Tempered glass screen protector kit
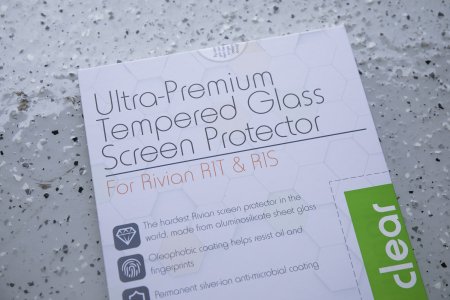
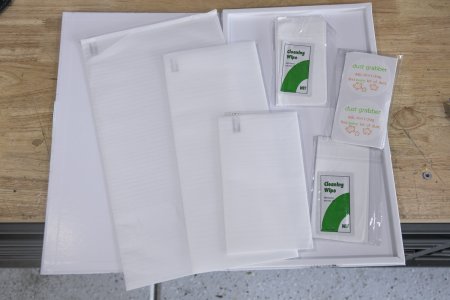
These tempered glass screen protectors are the best you can get for your Rivian, featuring a fourth-generation design built on nearly a decade of experience. They boast an exclusive silver-ion antimicrobial coating that kills germs on contact and a superior hardness rating, ensuring maximum protection. Choose between matte for glare reduction and fingerprint resistance or HD Clear for an almost invisible finish, both are easy to clean. Plus, if damaged, just send a picture for a free replacement! That's crazy. AO really stands behind its products and is known for the quality of its screen protectors.
Remove Factory Screen Film
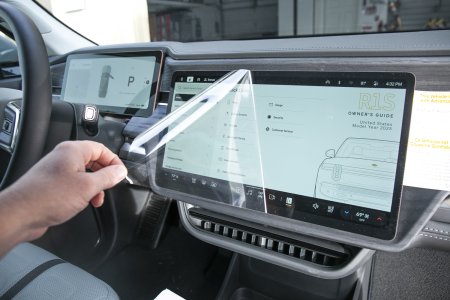
Thankfully, we still had our factory film on the screen so cleaning for us was not that big of a process. But we still followed the much needed step by step installation as dust was still on the screen in random spots throughout the installation.
Ensure the climate control/fan is off and your Rivian is parked somewhere that's well-lit (sunshine is great for revealing dust). At the time of writing, there's no screen-cleaning' mode, so navigate to the Owners manual to prevent activating anything as you install the protector.
Wash your hands. Minimize movement in the car.
Step 1. Wipe the screen with the wet wipe
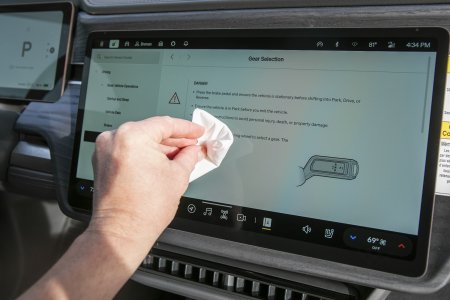
Dust is your enemy, time spent removing every speck is well-spent, and will save you time at the end. First, wipe the screen with a wet wipe to clean the screen. Then use the dry wipe to clean off any moisture.
Step 2. Dust Grabbers
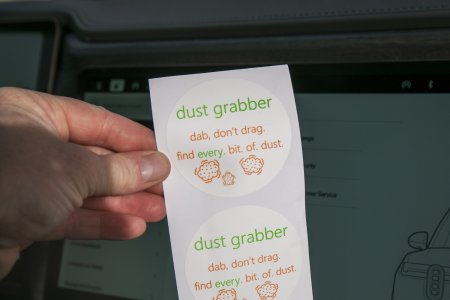
Use the dust grabbers (or Scotch tape) to get the last few specks. Dab dont drag. Check from multiple angles to ensure you get all the dust.
Step 3. Remove Backing Layer
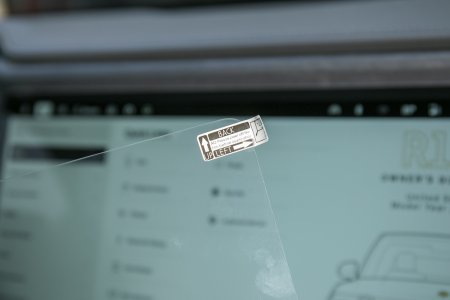
Starting with the center screen, dry-fit the screen protector lie. do not remove the protective backing). When placing the screen, use your fingers to support the protector along its bottom edge. Practice positioning it, getting a feel for how it aligns at the edges, and noting the very small recessed bezel that surrounds the front screens.
Check for dust again. And again. Seriously. The #1 cause of installation issues is dust. Now stop breathing until the next step is complete
Remove the protective film slowly but deliberately. Do not touch the exposed sticky side of the protector.
Step 4. Fit the screen protector
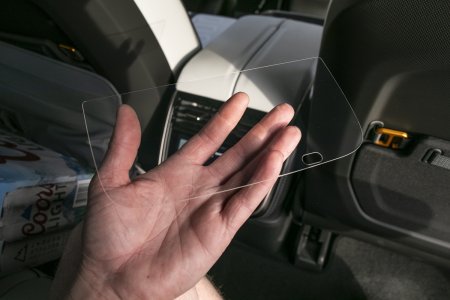
Position the protector with your fingers along the bottom edge and focus on one corner, then the other. Once the bottom edge is completely aligned, 'tip' the protector into the screen, and allow it to take hold.
Step 5. Check For Bubbles
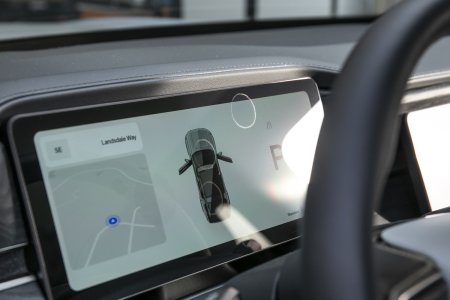
If you see a bubble forming, gently pull the protector back from one of the top corners until the bubble is exposed, and use a credit card wrapped with the supplied microfiber cloth to work the bubble out to the nearest edge. If the bubble is caused by dust (it probably is, use some Scotch tape to grab it either from the screen or the protector itself. We had a few bubbles forum on the gauge cluster and the primary infotainment screen but it was not due to dust. The bubbles easily came out for us.
Take a deep breath now do the same for the driver's screen. Since this is smaller, you can grip the top and bottom screen with the tips of your fingers for easy placement. Don't forget to practice with a dry-fit first, and be sure to check for dust. Do not touch the rear of the screen.
Step 6. Rear Screen
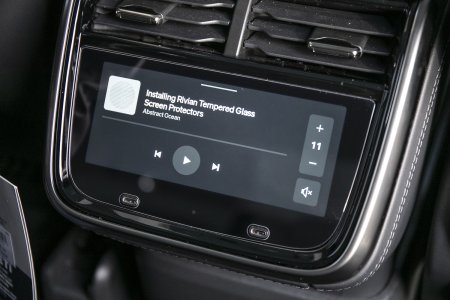
For the rear screen, use the USB ports to align to the cut-outs on the protector. Since the screen is enclosed by the surrounding bezel, use the bottom edge to assist with alignment before finally allowing the protector to take hold
Final Thoughts

Congratulations! Your screens are protected, and germ-free!
Last edited:

