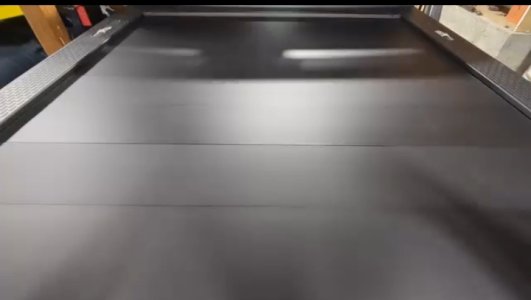
Installing a tonneau cover for your R1T is pretty simple as it comes with a manual, but if you can't install it yourself, you can still go to a service center and they'll have it installed for you.
If you're someone who loves to keep busy and feel like having it installed yourself, you'll need to have your installation tools available, such as your socket wrench or ratchet, a torx screwdriver, and an Allen wrench. You can choose to put on rubber gloves for safety if you want to. Next up, you'll need to check if the tonneau cover is suitable for your vehicle so as not to have any installation issues. Once these are done, you can now move on to the installation steps.
INSTALLATION STEPS
The installation steps aren't that many given it's not a difficult process even for people who aren't that good working with tools.
1. Firstly, ou need to prepare the bed and ensure the bed rails are free from debris.
2. Unpack the tonneau cover and make sure everything you need is complete in the box.
3. Locate the mounting points for the bed rails and attach your rails using the torx screws. Make sure you tighten the screws firmly though to avoid any accidents.
4. Place clamps on rails, ensuring the slaves are even, and secure the clamps using the Allen bolts.
5. Ensure the tonneau cover is aligned with the rails; use clips or screws to secure the cover to the clamps. Make sure there's smooth operation and proper tension.
6. Look out for any adjustments, and if any, do well to carry out the proper adjustment.
7. Carry out a final check and text out the tonneau cover to make sure it works properly.
It's not difficult to install, and once you've done all this, you're very much ready to make use of your tonneau cover.
Last edited:


