Rivian Mom
Active Wheeler
- Joined
- Oct 20, 2024
- Messages
- 351
- Reaction score
- 30
- Rivian
- R1S
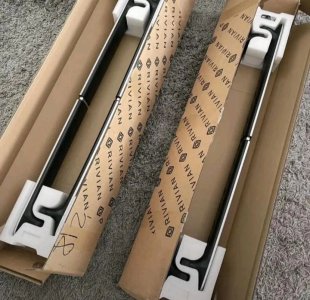
Rivian designed the crossbars for carrying heavy gear with ease without falling off. It's an accessory that doesn't come with a newly bought Rivian vehicle but can be purchased and fixed pretty easily. Although if you cannot fix it yourself, you can take it to a service center, and they can easily have it fixed for you. Crossbars for the R1S are mounted on the roof of your vehicle, and they can either be placed horizontally or vertically. Depending on which you like best. So I went to a service center to have mine fixed, but I can still recall the tools used and the processes involved because I asked a lot of questions that day.
TOOLS NEEDED
So just a couple of basic tools are needed for you to work with, and they're tools you can have in your toolkit at any time. You'll need
1. Crossbar set designed for the R1S
2. A torx screwdriver to fasten the screws (T30 or T40)
3. Measuring tape for accurate measurement and placing
4. An allen wrench (3 mm or 4 mm)
5. A safety glove as well, because safety is really quite important.
So these are the basic tools you'll need, and next up, it's the installation process.
INSTALLATION PROCESS
The installation process doesn't take much time as long as you know what to do and can be done easily in less than 10 steps.
1. The first step is to locate the roof rail mounting points, which are basically located on top of the vehicle.
2. If there are any plastic covers or trim pieces, make sure to have them removed.
3. Next up, identify the crossbar clamp positions, which are usually marked out already.
4. Place the crossbar on roof rails (either horizontally or vertically, depending on your choice), and do well to ensure they're properly aligned.
5. Fasten the torx screws of the crossbar using the torx screwdriver and make sure to tighten them firmly.
6. If Allen bolts are available, make sure to tighten them as well using the Allen wrench for additional stability.
7. Repeat steps 4 to 6 for the second crossbar.
8. Do well to check the levelness of the crossbars after installation and adjust as needed.
9. After that, you reinstall the trim pieces or plastic covers, and you're good to go.
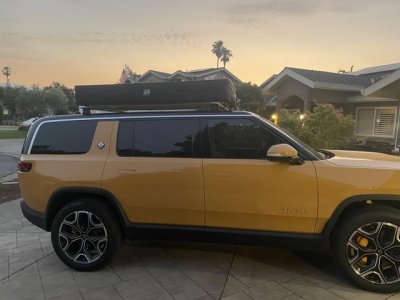
A photo of my R1S crossbar been used to carry cargo
Just some tips and reminders: before loading any gear, make sure to check the stability of the crossbars and ensure they're well mounted to avoid any accidents. Also, the crossbars must be suitable for the R1S for proper fit. So with these easy steps, you're now ready to carry some heavy gear without having any worries if it'd fall off.


