Vincent
Member
- Joined
- Oct 16, 2024
- Messages
- 199
- Reaction score
- 24
- Rivian
- R1T
My friend recently upgraded his R1T radio and said he wanted a minimal install with no drilling. He was unfortunately working on a really tight timeline to get things installed, so he made one sacrifice. He decided to pinch the antenna cable in the a door seal, which isn't the best move for long term. He'll find a firewall grommet and route it through later this year when he has more time, probably.
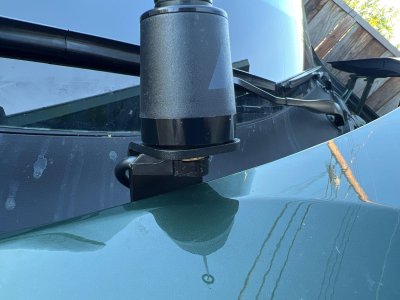
For the antenna mount, he used the s00nish ditch light bracket, paired with an NMO cable.
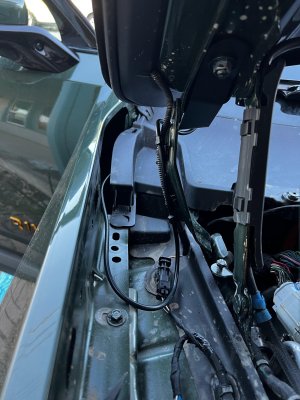
He routed the antenna cable into the cab through the body trim around the A pillar base. Here's the temporary wire routing into the cabin.
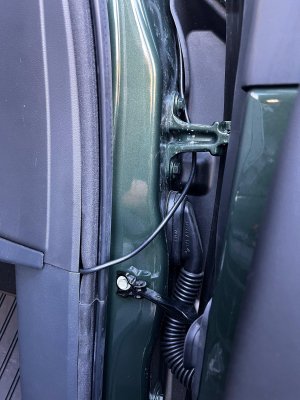
You can pull the interior panels out along the door to tuck the antenna cable under down the passenger side of the vehicle, exiting just behind the passenger seat. From there he just ran the cable under the floor matt, to the radio base below the passenger info screen.
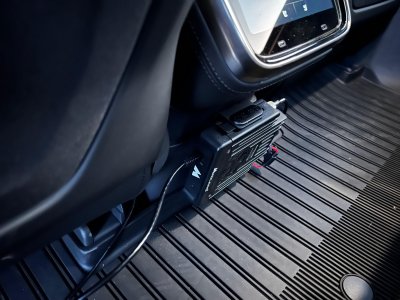
For mounting the base unit, a few strips of auto grade vhb did the trick nicely. For now he's got a panel mount ethernet extension just kinda loosely run up to the center cubby area, where I've got the handset.
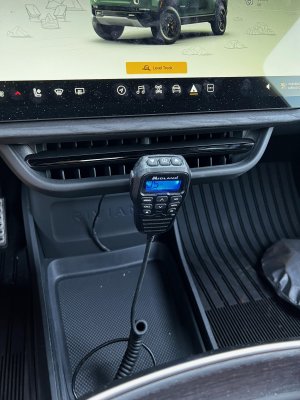
You can also see the cable he made and sleeved coming from his 12v port back to the radio for power. At some point I'm sure he'll find a cleaner spot to mount the panel extension.
Probably.
For the antenna mount, he used the s00nish ditch light bracket, paired with an NMO cable.

He routed the antenna cable into the cab through the body trim around the A pillar base. Here's the temporary wire routing into the cabin.


You can pull the interior panels out along the door to tuck the antenna cable under down the passenger side of the vehicle, exiting just behind the passenger seat. From there he just ran the cable under the floor matt, to the radio base below the passenger info screen.

For mounting the base unit, a few strips of auto grade vhb did the trick nicely. For now he's got a panel mount ethernet extension just kinda loosely run up to the center cubby area, where I've got the handset.

You can also see the cable he made and sleeved coming from his 12v port back to the radio for power. At some point I'm sure he'll find a cleaner spot to mount the panel extension.
Probably.

